
With our Centerbase Microsoft Word Add-in, you can easily create document templates. These templates give you the ability to auto-generate information directly from your Centerbase database. Once you've created a template, you may reuse or edit them at any time.
For an in-depth explanation on how to download our Microsoft Word Add-in, please read our article here.
Creating the Template
First, open Microsoft Word. From there, go to the Centerbase tab at the top of your toolbar.
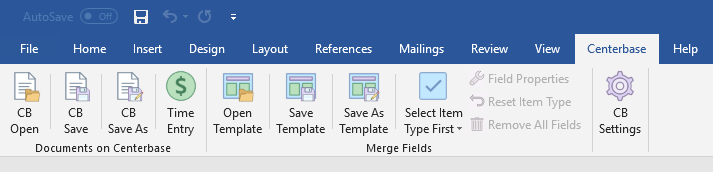
Make sure you are logged in to your Centerbase database. To do so, select the gear icon titled "CB Settings" and fill out your login information.

Now it's time to start creating your template. Navigate to the icon with the blue check mark, titled "Select Item Type First." This will generate a drop-down menu.
From here, you will see a complete list of all of the item types in your Centerbase database. For example, we will select Matters.

Once you've selected an item type, the fields from the item you've selected will populate in a drop-down menu under the icon titled "Insert Matter Field." You can use this drop-down to insert any field into your document.
For instance, since we've selected Matter as our item type, you can insert any field that is located in your Matters within Centerbase. For this example, we'll select Name as one of the fields we'd like to include in our template.
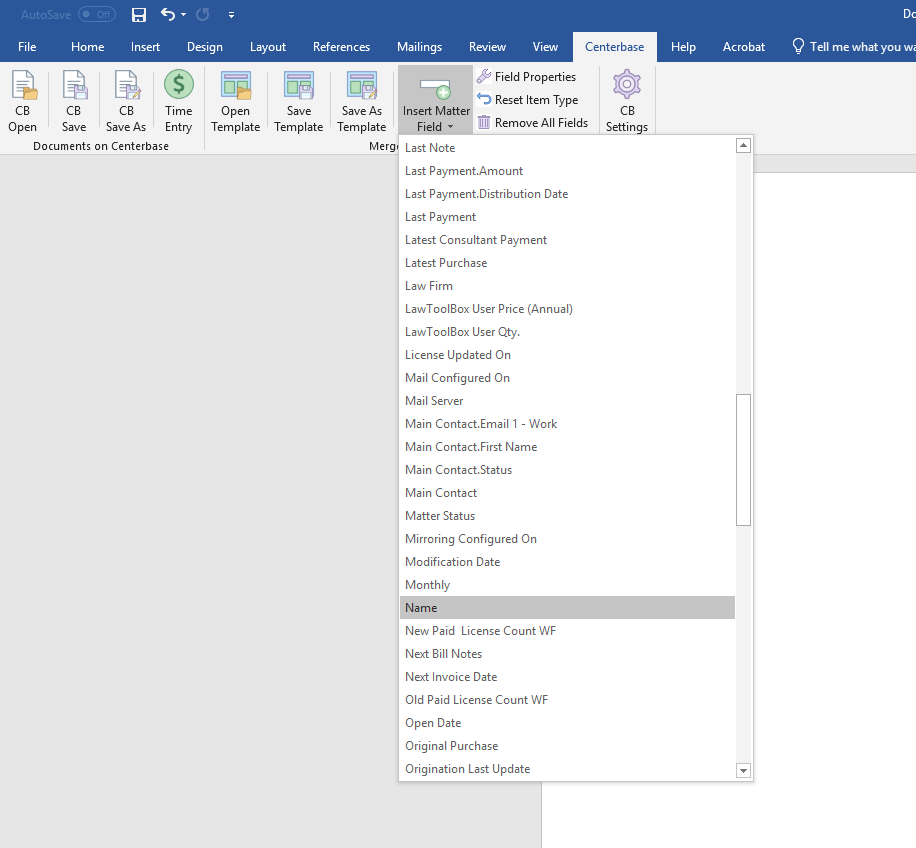
Once you've selected a field type, you will see it appear in your document in double brackets (for example "<<Name>>.")

Field Properties:
If you select a field and click the Field Properties button, you can adjust certain things about the merge field.

Show last X characters
If this option is enabled, it allows you to obscure all but the last few characters from a value. This is useful for things like Social Security Numbers, Drivers License #, and even Phone Numbers in some cases.
This will replace all other characters in the value with a *. So if I had someone's SSN set as 123-456-7890 and I told it to Show Last 4 Characters it would show up as ***-***-7890.
Special Formatting
This can be used to apply various formats to the values that show in the merged document:
- Dates - You can format dates by putting in particular format codes:
- d - A lowercase d shows the Short Date format (ex. 8/7/2020)
- D - An upper case d shows the Long Date format (ex. Friday, August 7, 2020)
- m - The letter m will show the Month/Day format (ex. August 7)
- y - The letter y will show the Year/Month format (ex. August 2020)
- For custom format options, see this Microsoft Article
- NOTE: Mail Merge does not support dates with time (such as appointment start date or creation date). It is meant to be used on Date fields
- Numbers - You can also format number fields. You specify a letter to say what type of format and a number to say how many decimal places to display:
- C2 - This will show a number formatted as currency with 2 decimal places (ex. $1,450.88)
- N0 - This will show a number with thousand separators and no decimal places (ex. 1,451)
- F3 - This will show a number without the thousand separators and 3 decimal places (ex. 1450.879)
- For custom format options, see this Microsoft Article
- NOTE: despite the examples given above, you can put whatever number after the letter code you want to specify how many decimal places to use. So C0, N4, and F2 are also valid
- Text - There are two formats that can be applied to Text values
- Uppercase - This will cause the value to be shown in all caps (regardless of how it is stored in Centerbase)
- Lowercase - This will cause the value to be shown in all lowercase (regardless of how it is stored in Centerbase)
Important Notes about Fields and Item Types:
Defining which fields appear:
The fields that show up in your "Insert Field" dropdown are determined by your Data Views settings. To change these settings, you may go to the Centerbase Admin tool and select Admin > Settings > Data Views.
Lookup Fields:
If you are selecting a lookup field to insert into your template (these are fields that will typically show up in blue on your item types), then they will appear slightly different than normal fields.
For instance, Address is a type of lookup field for matters. If you want to insert the Address field in your template, it would be defined in several subsets denoted with a period. For example, "BilltoAddress.City" and "BilltoAddress.State."

Resetting the item type:
If at any point you need to change the item type that you are using to enter fields in your template, you can select the icon titled "Reset Item Type." Please note that resetting the item type will remove all fields from your document.

Saving the Template
Once you've finished formatting your template and inserting the appropriate fields you'd like to include, you can save your template by selecting the icon titled "Save as Template."

Once you've selected "Save as Template," you will be presented with fields to complete.

Below is an explanation of each field:
Name: This is where you will name your template.
Section: You may save your template in any section that you have previously created. Otherwise, it will default to the General section. To create a new section, simply type the name of a new section in the field. It will be available in the dropdown after a template has been saved under the new section.
Revision: You can select a number to denote if there are multiple revisions of a template.
Description: This is where you can add any notes or additional details about the template you are creating.
Attributes: Here, you can specify if you'd like your template to be accessible to everyone or protected.
Opening the Template in Microsoft Word
Once you have saved your template, you may access it directly from your Word Add-In by selecting "Open Template" at the top of your Microsoft Word toolbar.

Once you've selected "Open Template" you will be able to access the templates you've created by navigating to the sections you've saved them in.
Using the Template in Centerbase
Once you've saved your template, you can access it directly within Centerbase. For instance, since we made a Microsoft Word template that pulls matter information, we will now be able to fill in that template directly from our matters in Centerbase.
In order to do so, go to Matters and select a matter.
Once you've selected a matter, navigate to Matter Actions and select Document Merge.

From here, you will be able to select the template you have created from the section it is saved in. For instance, we saved a template titled "Client Renewal Date Template" in the General Section, which you can see below.

Once you've selected the template you'd like to use, select Save and your template will auto-generate the fields you've specified in the Word Document.
Comments
5 comments
Field names must be kept short so that the combined length of the lookup field.contact field.contact subfield does not exceed the microsoft word merge limit.
For example: <<DPOA Succ Agent.Bill To Phone Numbe>> cuts off the word "number" and thereby fails on the merge process.
«DPOA Succ Agent.Bill To Address.Add» cuts off the Address 2 subfield of the the address table.
On the Centerbase Client, Item manager, change the names of the fields to contain less characters.
How does one DELETE an existing template section?
If all templates in a given section are deleted or moved to another section, the section will no longer show up.
Where do you go to remove templates that have been updated, i.e., moved from Version 1 to Version 2, want to delete out Version 1? Thanks!
Is there any function in Centerbase that allows for a blank line to be automatically removed - for example, if the Address 2 field is empty, but you have it (by itself) on a line, is there a function in Centerbase that will not insert the blank field, causing a blank line to appear?
Please sign in to leave a comment.